Sunday, September 11, 2011

The sad ending and the new beginning

Some of you might wonder why I bought so much new stuff.
Well this is why:

Last week disaster striked.
I went to the beach to fly my copter an do some nice FPV while filming the giant unifeeder ships, I forgot a screwdriver to mount the FPV equipment.
So I was left with some flights around the picknick blanket.
An hoer later we packed and I wanted to turn one more round, seconds before landing I noticed that the copter went a little bit to far, I was over an open air restaurant so I throttled up, (I did not want to hurt someone).
This was the moment I realized that I had lost orientation. I could not see where the front of the copter was.
I tried some Pitch and roll amneuvers to get it back but it was hopeless.

Then I did some a very stupid thing, I went into dive and ran towards the copter. It crashed somewhere in the woods in an old castle ruin at the shore - we searched for hours but it was hopeless - old ruins, woods, thorns, high grass and old industrial buildings and not a single clue where in this area it could be.

The most stupid thing I did was to mute the buzzer seconds before tekeoff because I reprogrammed the voltage code and made a mistake  so it buzzed all the time during flight.

I wanted to cry because I put so much money and work in it - I just added the baro and the mag.

I thought about giving up this hobby but then I enterd eBay/Flyduino.com/and Hobbyking and about 6 Days later this is the result:


proudly present NTMC05 "nDROiiD 2"
Since the first copter was so good I did only minor modifications:
- Flydusense V2
- mounting hole for buzzer
- wiring for LEDs now more clean
- lots of improvements regarding wiring and drilling
- HK SS18A ESC
- coloured 8"/10" props from Flyduino
- no more QuaroPPM because the HK TR6A delivers a Summ PPM signal
The copter is built more accurate because I got more skilled by building the first one I included all the learned lessons from the old nDROiiD.


The most important lessons I learned from the crash:
- always put your Phone number on the copter
- NEVER mute the buzzer
- include a lost model buzzer routine that can be switched on and off
- include GPS tracking
- never fly over terrain that you do not know well
- always keep your eyes on the copter while it crashes
- NEVER GIVE UP (thanks to the guys in the RCGROUPS thread for the support)

The first stunt and FPV flights are already done and I am quite happy with the results. The new coloured props are a great help and the copter feels a little bit better in the air. Still some PID tuning to do but there is hope...


Tuesday, September 6, 2011

Tiny new friends

Today two new sensors arrived, I ordered a BMP085 barometric sensors and a HMC5883L magnetometer from eBay.
Their breakout boars are only half the size of the sparkfun versions. The mag is only 6mm by 6mm

baro and mag: tiny tiny


I am looking forward to test them this weekend, the will fit on the Flydusense V2 and everything will look tidy and polished.

Sunday, September 4, 2011

New Flydusense V2

Paul from www.flyduino.com sent my a new Version of his Flydusense.

This board is round, so it can be mounted in different directions (good for Quad+ pilots) and it has inbuilt vibration dampeners.
A connection for every kind of IMU is onboard plus a voltage divider a LLC and a LED driver.

I started wiring it up and the result can be seen below

Flydusense V2 out of the box

Flydusense V2 with genuine WMP and a Bosch BMA020


Friday, August 19, 2011

Baro, bluetooth and compass installed

A few days ago´Stefan Watterott deliverd my 3 new goodies for nDROiiD.

BMP085 barometric sensor on breakout board
Triple Axis magnetometer HMC5883L on breakout board
Sparkfun Bluetooth mate Silver

After som thinking about installation and some trouble with WinXP. I got it all set up.

I mapped Aux2 to the magnetomeer and to the baro.
If I activate the compass the current heading is stored and the copter tries to hold the heading untilI do some yaw action again.
The baro is enabling the copter to hold it's altitude, if I climb up to the desired height, I i switch the button and it is hoklding height until I move the trotthle out of a deadband. (the deadband is for emergency purpose).

The baro and the compass already hooked up and in a shrinking tube on the centerplate

The MultiWii GUI showing the new sensors in action

The bluetooth mate is a very handy fella, not only can i connect the copter to my PC for setting up parameters or transferring new firmware, I can connect it to my Motorla Droid or to my Archos Pad to change parameters on the fly while in the field or seeing flight data whily flying.

My Droid is connected to the nDROiiD and is showing PID params


Thursday, August 18, 2011

Whoa whhoa whoa FPV!!!

I am getting the hang of it.
I did my first longer FPV flight yesterday: 3 LiPos, 0 Crashes

It was a great experience, I flew out of sight and very high, chased a cat and nearly lost my tricopter becaus I couldn't find back.


as you might have noticed: This Blog is now on english  (I try my best) ;-)

Nils

Monday, August 8, 2011

nDROiiD ist fertig


Nach ca. 3 Wochen Bauphase ist es gestern Abend endlich soweit gewesen:

nDROiiD hatte seinen Jungfernflug.

Mein dritter Multikopter und erster Quadrocopter flog wie eine eins.
Pünktlich mit dem release von Alex's v1.8 des MultiWii Codes (an dem ich auch einen klitzekleinen Beitrag geleistet habe) hob der neue Vogel ab.
Er fliegt sich sagenhaft, zusammen mit den Verbesserungen am Code sogar noch deutlich besser als vorher.

Der Rahmen besteht wieder aus einer selbstentwickelten GFK Platte, diesmal habe ich 15mm Alu-Ausleger verwendet damit die Kabel innen liegen können, die Motoren haben ihren eigenen GFK Schutzkorb gegen Abstürze.
Die Elektronik liegt in einer schwarz gefärbten Acrylglaskugel und im abflugfertigen Zustand ist kein einziges Kabel mehr zu sehen. Genau das war auch das Ziel.
Da meine FPV Halterung noch nicht fertig ist, folgen Video demnächst.

Hier ein paar Bilder:


Gefräste GFK Motorhalter sorgen für Sicherheit

Gepufferter Sensorbob und gepanzerter Flyduino, leichter Zugang zum USB

Abdeckplatte abgenommen

Flydubution dient als Verteiler und als Batteriehalter, Plastik als Spritzschutz

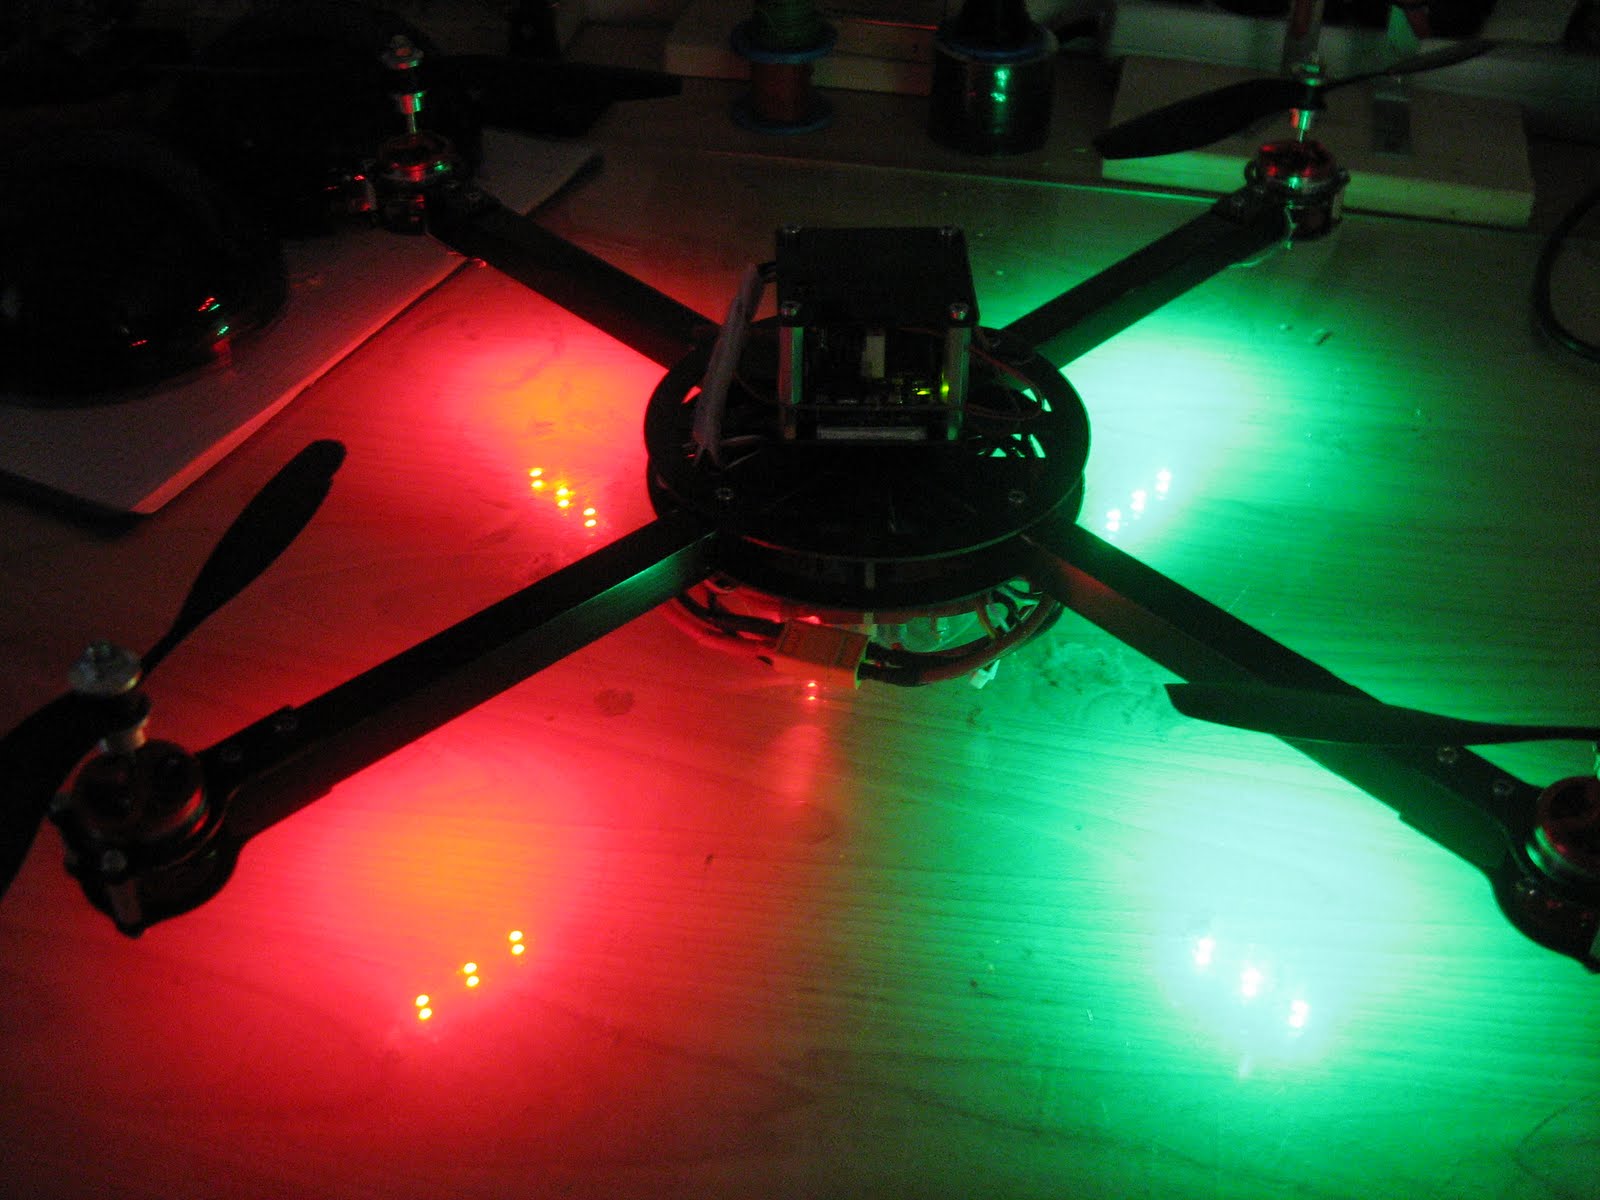
LED Beleuchtung zur Lageerkennung...

...und für Ooohs und Aaaahs.

Sunday, August 7, 2011

Das beinahe Ende von ViiP3R....


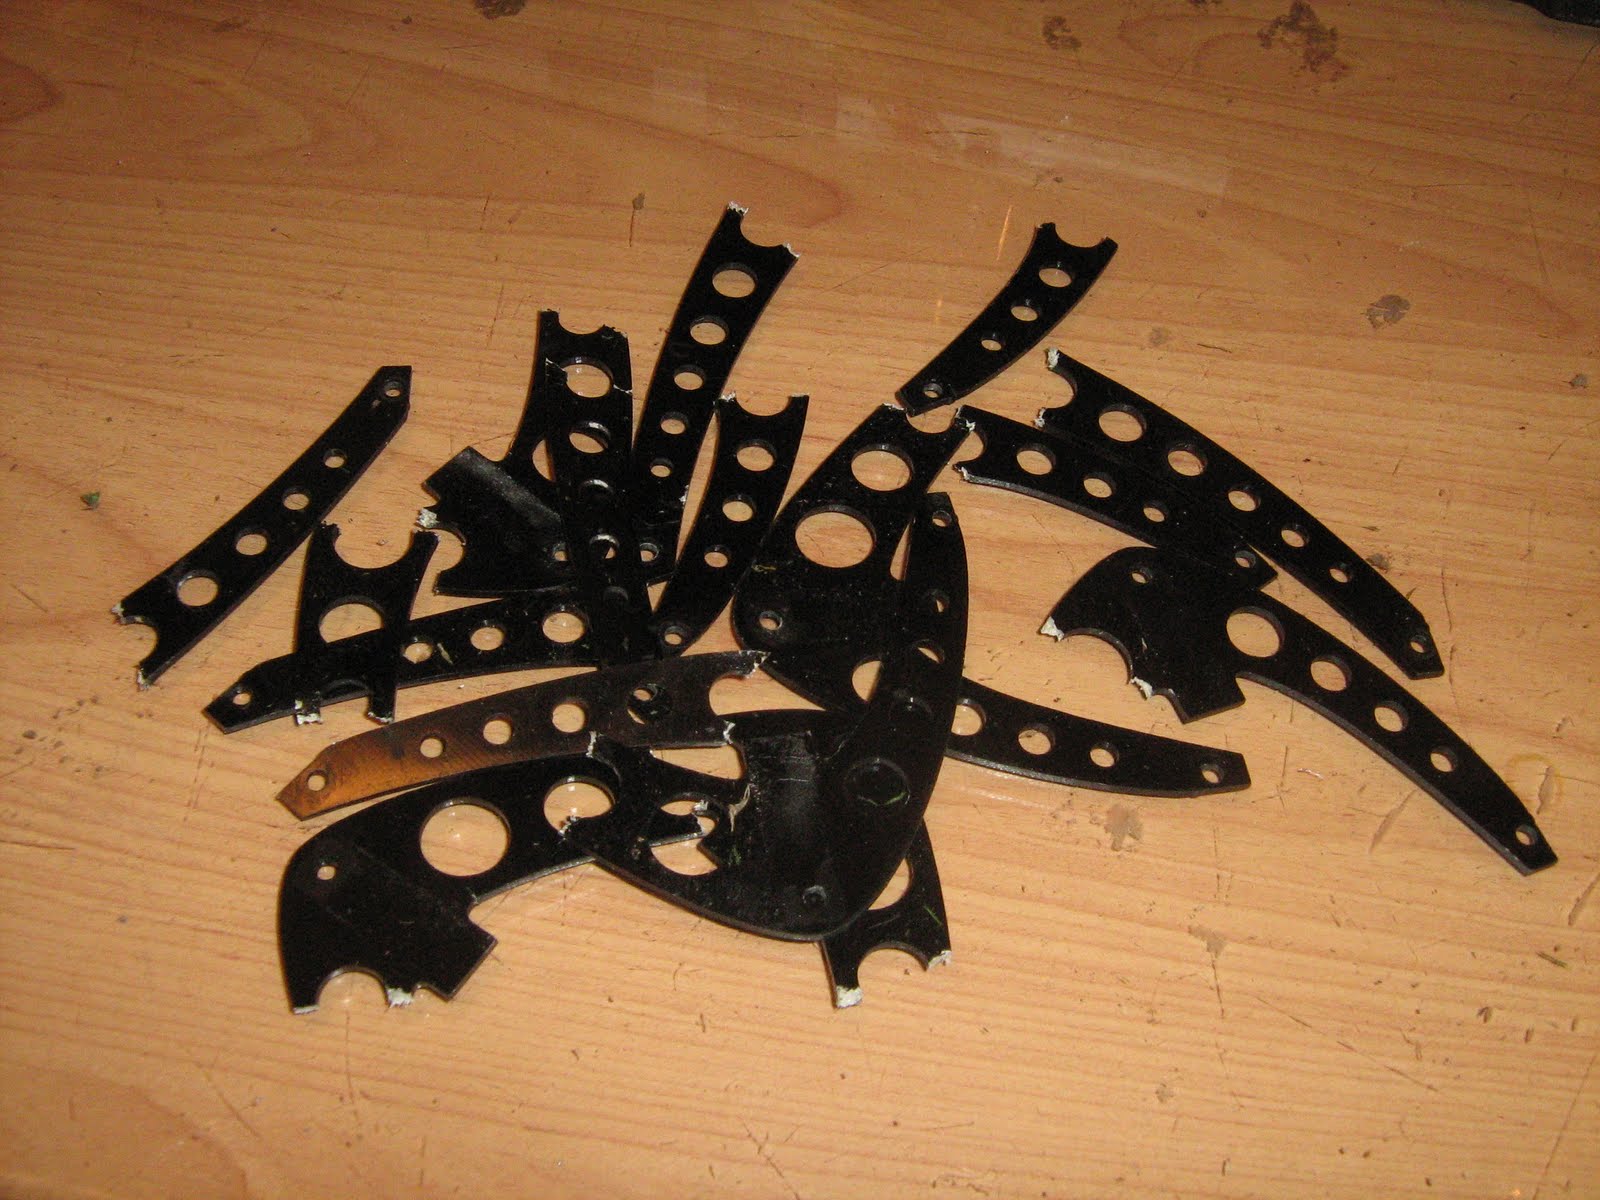
Das passiert wenn in 30m Höhe ein Motorregler ausfällt und die Schwerkraft auf einmal versucht Tricopter zu fliegen.
Da hält selbst das Stärkste Exoskellet nicht mehr, es hat fast den Flyduino erwischt, es hat ein paar Pins verbogen und fast die Platine zerbrochen - aber zum Glück hat der Rahmen die meiste Energie aufgefangen.

2 stunden Später war ich wieder in der Luft...